This post may contain affiliate links. If you use these links to buy something we may earn a small commission. Thanks.
Have you ever come across a leak in the bathroom or kitchen and freaked out because you have no idea how to fix it? Well, this is the right place to learn.
Plumber’s putty is the most common sealant used in plumbing, but can plumber’s putty stop a leak?
You can use plumber’s putty to get watertight seals for faucets and sink drains. However, there are certain areas where putty may not be able to work effectively.
Before we move on to where and how to use the plumber’s putty, let’s find out whether or not it can stop a leak.
Can Plumber’s Putty Stop a Leak?
Plumber’s putty is an excellent sealant for waterproofing faucets, sink drains, and bathtubs. Use it to prevent leaks from happening. If you already have a leak, re-installing your fixture or pipe using putty can stop a leak.
However, there are a few limitations that are necessary to understand before the application.
Since a single type of sealant doesn’t work for every type of leak in the plumbing fixtures it’s important to understand what plumber’s putty is and how it works.
If you’re concerned about fixing the leak in the kitchen or bathroom, it surely could help in this regard depending upon the nature of the problem. All you need is to know whether or not the plumber’s putty is the right sealant for the job.
We’ll dig deep into the details to help educate you on using plumber’s putty so that you can learn where and how to use it effectively.
When to Use Plumber’s Putty
Watertight Seal
Leaks are a common plumbing issue, and plumber’s putty comes in handy in this situation as it helps seal the leaked parts in the toilets and drains. Do not hesitate to make watertight seals if there is a leak in the sinks, tubs, and taps.
Applied Internally
One of the key elements of using putty is that it’s most effective when used internally. The point is that it doesn’t work like silicone that is used externally.
Keep in mind that a plumber’s putty is a pliable, clay-like substance that needs to be kneaded and rolled for installation for fixing the leakages in the bathroom and kitchen.
Removability Factor
You might want to consider a plumber’s putty when you need either an immediate or a temporary solution for a leaking sink, faucet, or tub. One of the benefits of using putty is that it’s easily removable. So if you want to make an alteration or adjustment after applying it, there shouldn’t be an issue.
When Not to Use Plumber’s Putty
Plumber’s putty is a great tool, but it’s not going to fix everything. There are certain instances where putty should NOT be used.
Avoid using putty on any exposed areas or places where you need adhesive. Putty is a sealant, but it doesn’t actually “stick” two surfaces together. It just creates a super tight seal between them.
Exposed Areas
It’s a no-go for using on the exposed areas that requires a watertight seal. Plumber’s putty is most effective when it’s used applied internally for making a watertight seal.
If you need to press a sink drain into your sink, it’s that pressure between the two surfaces that squeezes the putty down and “locks in” a tight seal.
Simply applying it on the surface around your sink points isn’t the best use. Don’t use putty for exposed or on opened points that need a watertight seal.
Adhesive Power
It might surprise some of you that the plumber’s putty doesn’t have the adhesive strength to hold on to something. It’s a waterproofing sealant that is pliable and applied mostly in the base areas of the faucets, sinks, and taps.
Silicone might be an alternative to plumbers putty if you need adhesive power in your waterproofing sealant.
How to Use Plumber’s Putty to Stop Leaks
There is no rocket science in a plumber’s putty application. If you have a leaking bathtub, shower, or washbasin, you might be able to fix it if you know how to use plumber’s putty.
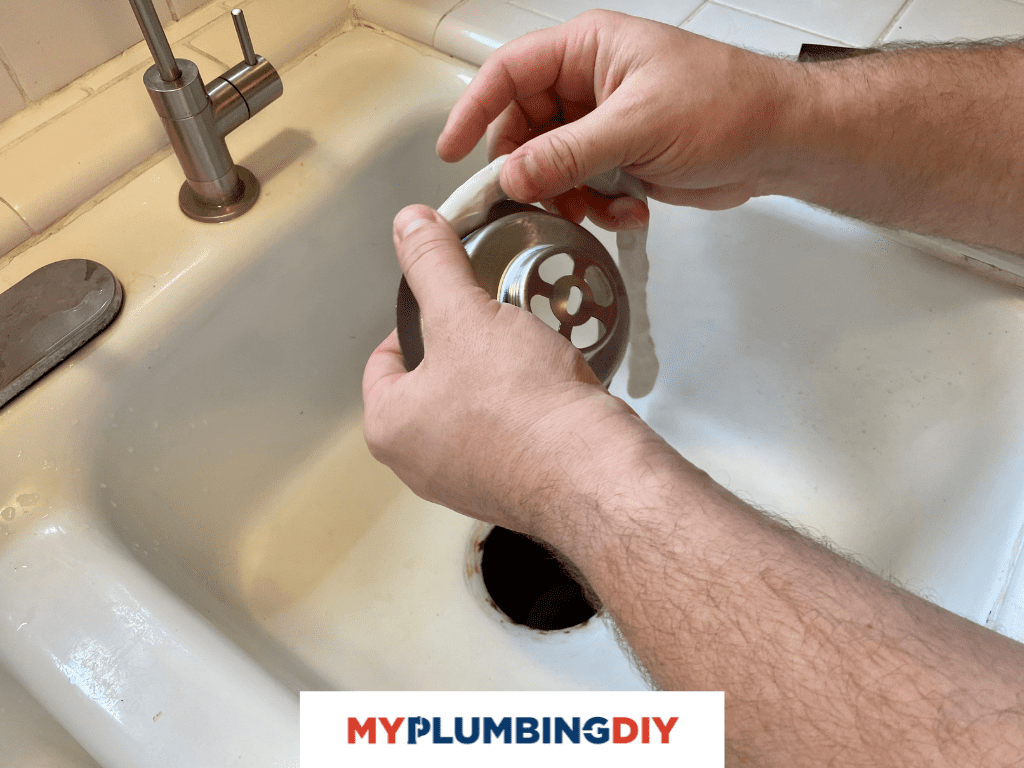
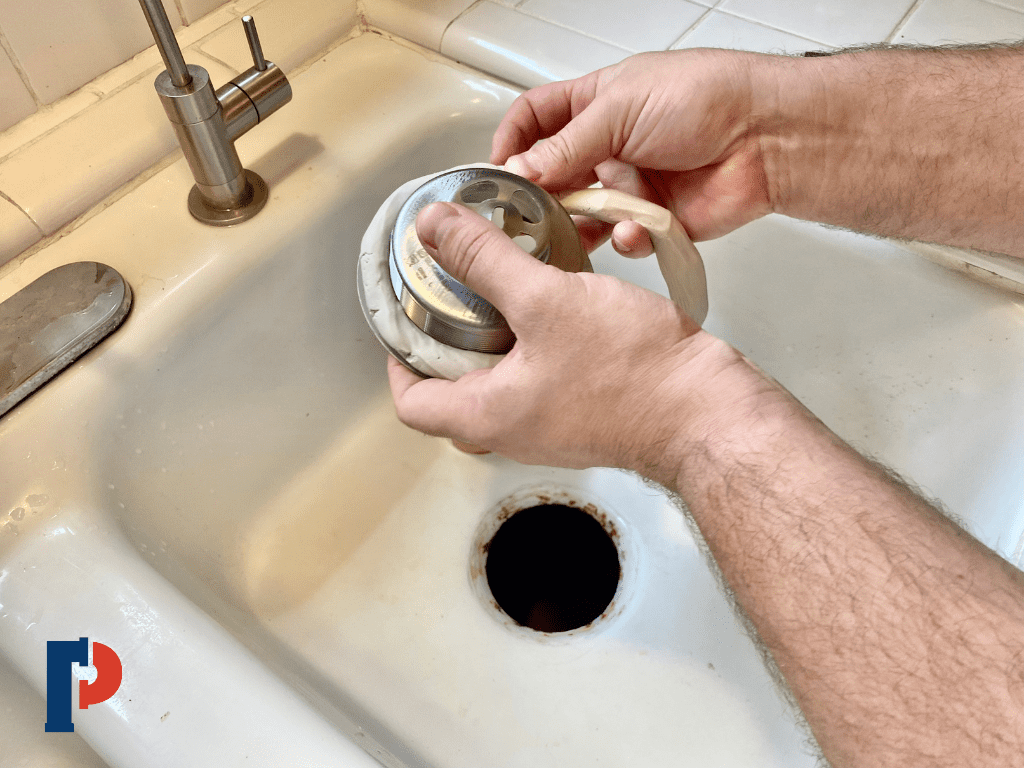
If you want to use plumbers putty to stop a leak you need to remove the fixture and re-install it using putty.
5 Simple steps for using plumber’s putty
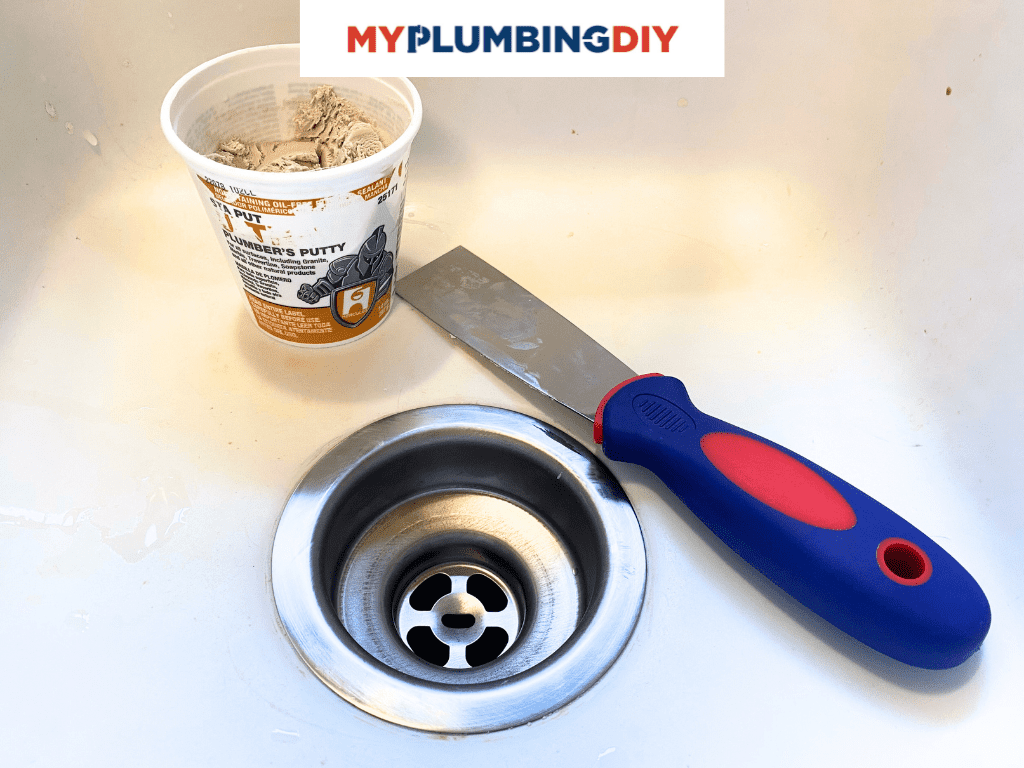
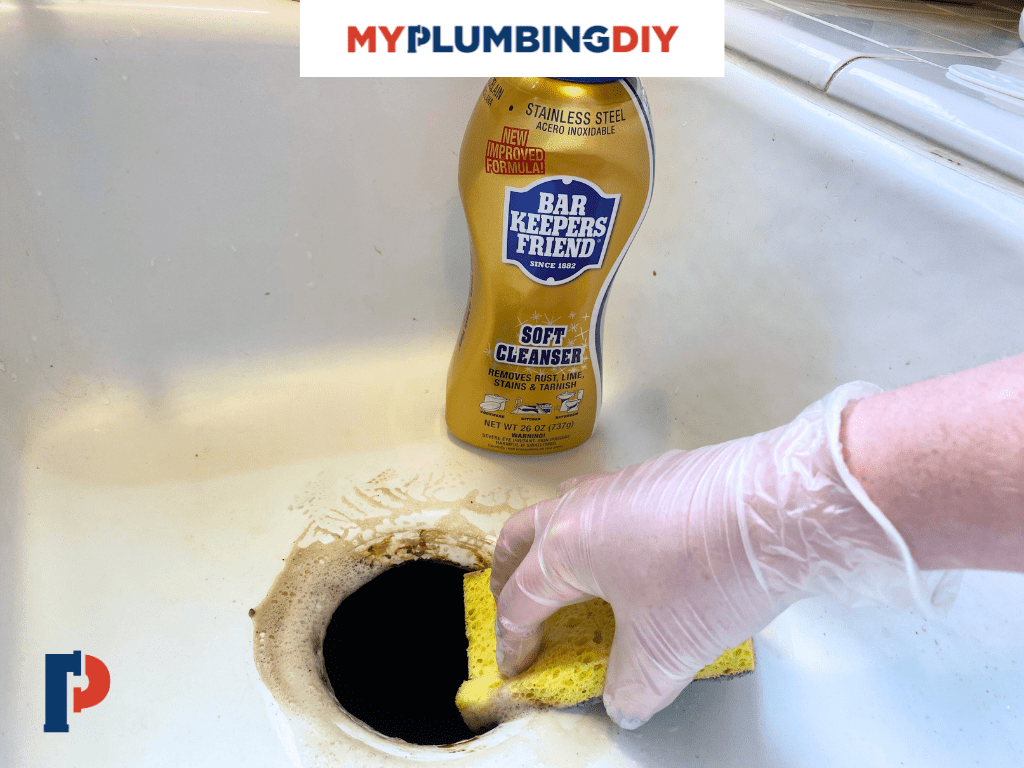
- Scrub the Surface
Using a plumber’s putty doesn’t mean you could apply it right away. Instead, you need to do a little bit of groundwork before you go on with the process. So hold your horses for a while and pay attention to this step.
First things first, clean the surface before the putty application. Otherwise, debris or previously applied putty might be buried under the fresh putty. Once it’s been cleaned, you’re all set to move on to the next step.
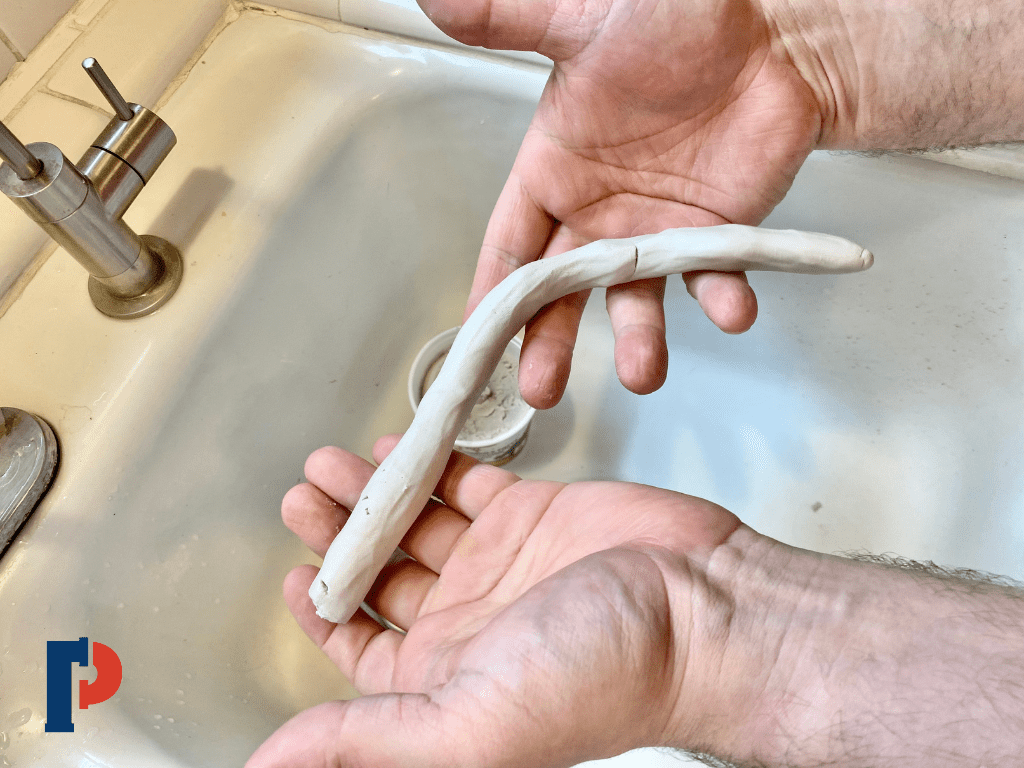
- Roll the Putty
Warm your hands by rubbing them together. Then, take a chunk of putty from the jar and roll it between your palms to soften it. It might take a couple of minutes, so keep doing it until it becomes a thin rope.
After that, the putty should be soft and smooth in texture and pretty much ready for application. - Apply the Putty Rope
Take that thin rope of plumber’s putty and gently press it into the ring similar to the size of the drain pipe or faucet fixture’s bottom that needs to be sealed.
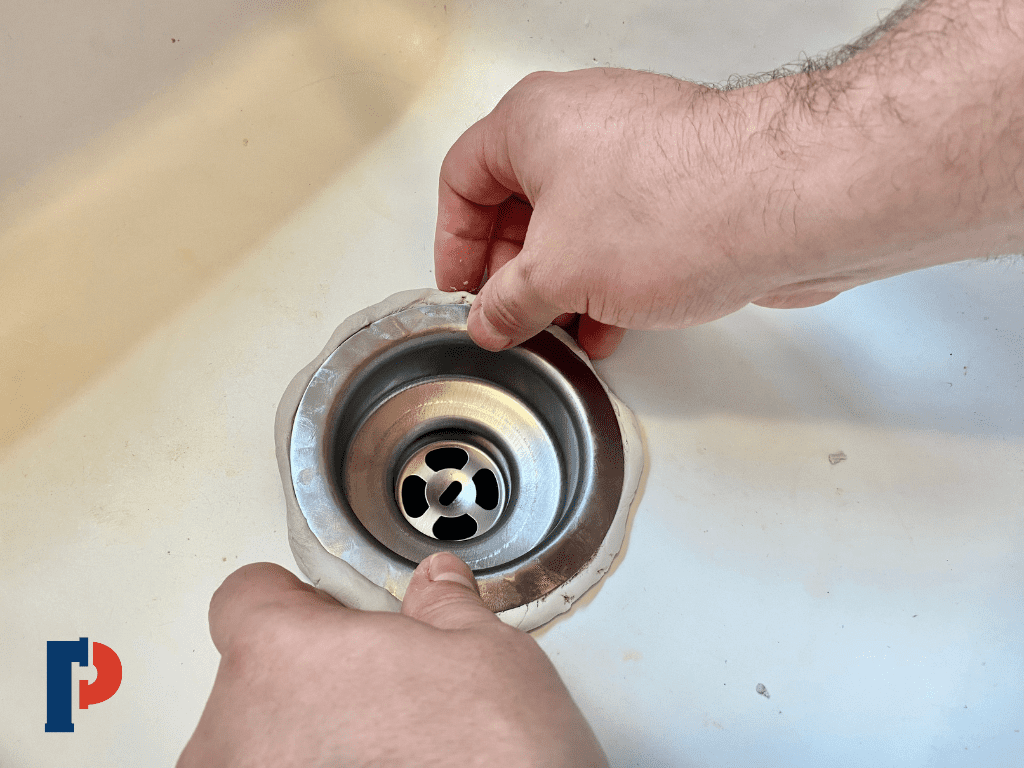
You may want to press the putty against the fixture or pipe so that there is no air in it and it sits firmly around the fitting. - Install the Part
Once you’re done with the putty rope application, grab the part to install it. It’s not done yet because assembling is an essential part of the process. Make sure that fixture is tightly screwed in, which would squeeze out the excess putty.
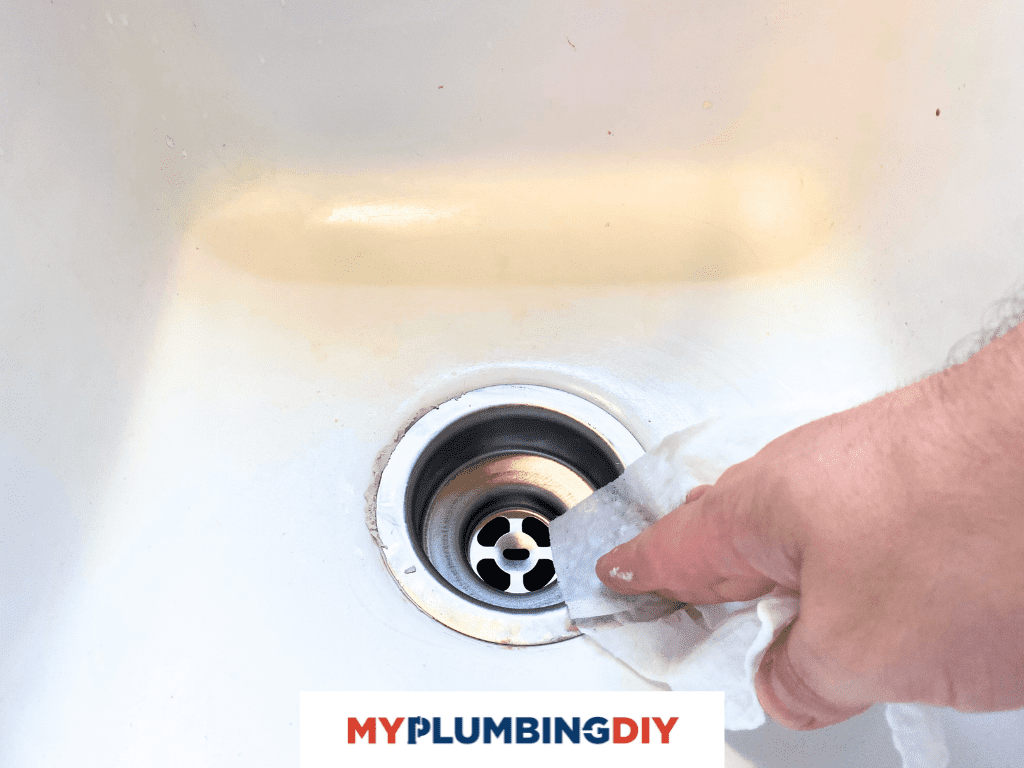
- Remove the Excess Putty
After the fitting or tightening, the excess putty would pop out. Remove the excess putty after the assembly. You can pretty much start using the sink, faucet, or bathtub right away – wherever you applied the putty.
FAQ’s
A plumber’s putty is the most common sealant for leaking pipes. However, we can’t rule out other sealants such as silicone and Teflon tape. There are various sealants out there that come in handy in different circumstances.
For instance, Teflon tape works best for threaded pipes, and silicone is applied on the exposed areas; whereas, putty is best for internal use. The best sealant would be the one that suits best for your situation.
Plumber’s putty can get wet right away. It doesn’t need time to dry or harden. But if you want, you can wait an hour for the fixture to set. If you’re in cold weather, we recommend waiting 15 minutes and tightening your fixture one last time.
Final Verdict: Does Plumber’s Putty Stop Leaks?
Plumber’s putty can surely stop a leak. I mean, that’s honestly the whole point of using it. It exists to prevent leaks from happening.
Don’t use plumber’s putty for anything underwater or if it’s on the surface and exposed to air. It doesn’t work if it is submerged underwater. It also isn’t best if you need an adhesive between two surfaces.
The ideal usage is in a sink or faucet where you can press two surfaces together.